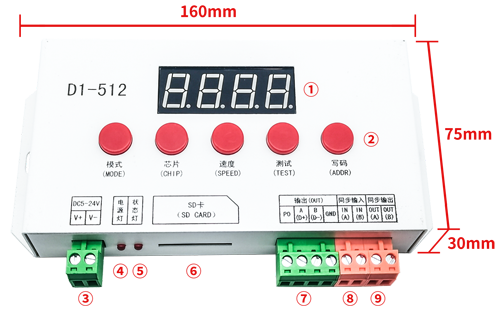
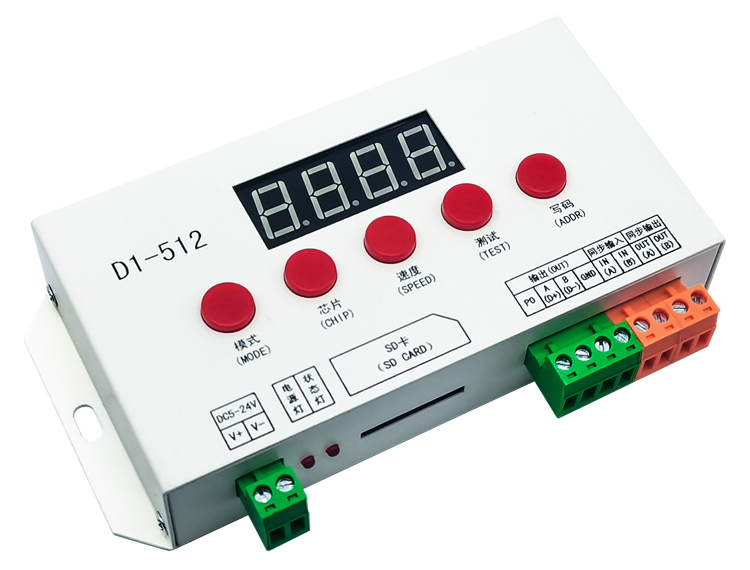
D1-512
[Single port DMX512 controller]

Synchronous line cascade synchronization

GPS synchronization line cascade synchronization

Controller write code
1、Long press the "select (or test)" key until the nixie tube displays "-", and
then press the "speed (or code writing)" key. The controller enters the code
writing state. The nixie tube displays "chip model" and flashes, and the
controller does not play the display effect.
2、Press the "select (or mode)" key, the nixie tube displays "ap.03", and set the
field mode.
3、Press the "mode + (or speed)" key, the nixie tube displays "al.01", and set
the field offset.
4、Press the "mode - (or test)" key, the nixie tube displays "a.001", and set the
first address.
5、Press the "chip" key, the nixie tube displays "512c", and set the chip
type.
6、When the nixie tube displays "chip model" and flashes, press the "speed (or
code writing)" key to start conventional code writing.
7、When the nixie tube displays "first address" and flashes, press the "speed (or
write code)" key to start writing code from the channel.
8、During code writing, the nixie tube displays the effect of "clockwise
rotation". After code writing, the nixie tube stops flashing and waits for
confirmation of code writing results.
9、When waiting for the code confirmation result, press the "select (or test)"
key, the nixie tube will display "af.01" and start playing the test effect.
10、When the nixie tube stops flashing, press the "chip" key, the nixie tube will
resume flashing, the controller will stop playing effect and enter the next code
writing state.
Write code only when writing code file
1、After the controller is started, it directly enters the "one key code writing"
state, the nixie tube displays "chip model" and flashes, and the controller does
not play the display effect.
2、Press the "speed (or code writing)" key to start code writing according to the
code writing file.
3、During code writing, the nixie tube displays the effect of "clockwise
rotation". After code writing, the nixie tube stops flashing and waits for
confirmation of code writing results.
4、When waiting for the code confirmation result, press the "select (or test)"
key, the nixie tube will display "af.01" and start playing the test effect.
5、When the nixie tube stops flashing, press the "chip" key, the nixie tube will
resume flashing, the controller will stop playing effect and enter the next code
writing state.
Write code when effect file and code writing file exist at the same time
1、After the controller starts, first play the effect file.
2、Press and hold the "select (or test)" key until the nixie tube displays "-",
and then press the "speed (or code writing)" key. The controller enters the "one
key code writing" state. The nixie tube displays "chip model" and flashes, and
the controller does not play the display effect.
3、Press the "speed (or code writing)" key to start code writing according to the
code writing file.
4、During code writing, the nixie tube displays the effect of "clockwise
rotation". After code writing, the nixie tube stops flashing and waits for
confirmation of code writing results.
5、When waiting for the code confirmation result, press the "select (or test)"
key, the nixie tube will display "af.01" and start playing the test effect.
6、When the nixie tube stops flashing, press the "chip" key, the nixie tube will
resume flashing, the controller will stop playing effect and enter the next code
writing state.
7、Press the "mode + (or mode)" key at any time to exit the "one key code
writing" state and play the effect file again.

